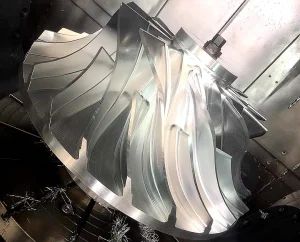
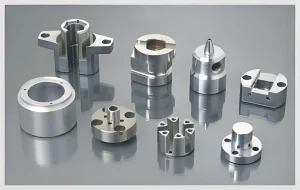
CNC aluminum machining is a precise process that transforms aluminum materials into functional parts. Understanding the steps involved can help you achieve high-quality results. This article outlines the CNC aluminum machining process, from design to finishing.
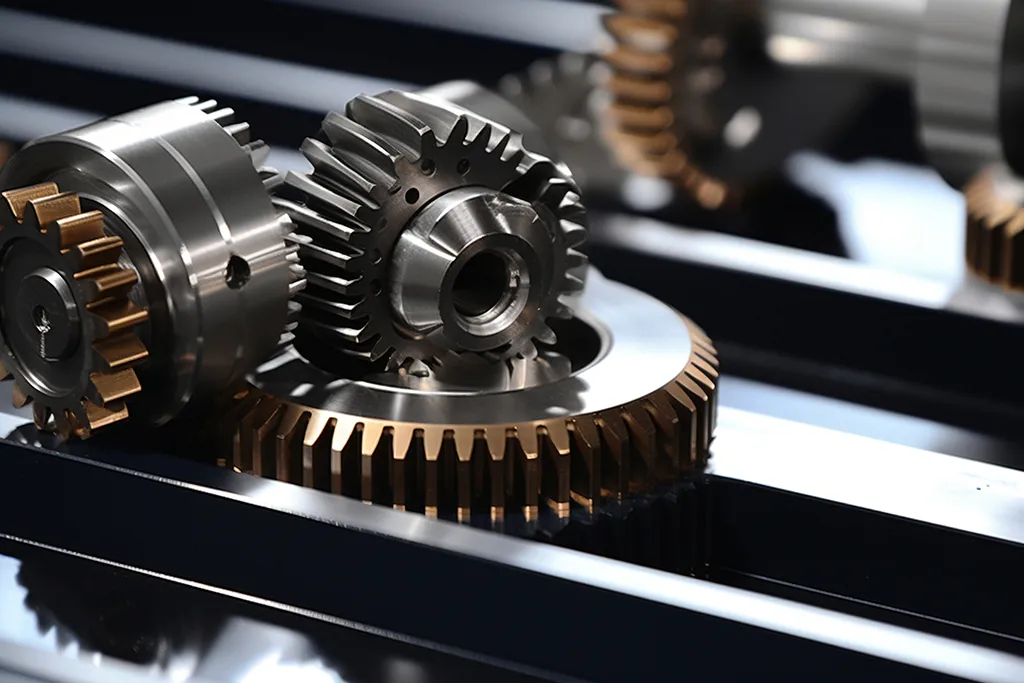
1. Designing the Part
The first step in CNC machining is designing the part. Use CAD (Computer-Aided Design) software to create a detailed 3D model. This model should include all dimensions and specifications. Be mindful of the material properties, as they will affect the design. Additionally, ensure that your design is manufacturable. Complex geometries may require specific tooling or techniques.
2. Selecting the Right Aluminum Alloy
Choosing the appropriate aluminum alloy is crucial. Different alloys have unique properties. For example, 6061 is versatile and widely used, while 7075 is stronger but less corrosion-resistant. Consider the application and environment when selecting an alloy. This choice will impact the part’s performance and longevity.
3. Preparing the CNC Machine
Once the design and material are ready, prepare the CNC machine. Start by setting up the machine according to the manufacturer’s instructions. This includes installing the right tools and fixtures. Tool selection is essential for achieving the desired finish and precision. Ensure the tools are sharp and suitable for aluminum machining.
4. Programming the CNC Machine
Next, program the CNC machine with the part’s specifications. Use CAM (Computer-Aided Manufacturing) software to convert the CAD design into machine code. This code instructs the CNC machine on how to cut, drill, and shape the aluminum. Pay attention to the cutting speeds and feeds. These parameters affect the quality of the finished part.
5. Machining the Part
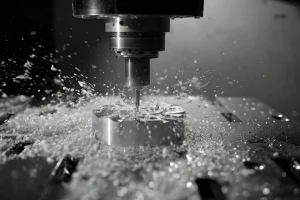
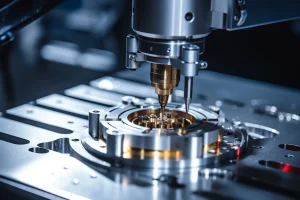
After programming, it’s time to start machining. Secure the aluminum block in the CNC machine’s vise. Begin the machining process by following the programmed instructions. The CNC machine will move the cutting tools precisely according to the design. Monitor the process closely to ensure everything runs smoothly. If any issues arise, pause the machine and address them promptly.
6. Inspecting the Part
Once machining is complete, inspect the part for accuracy. Use precision measuring tools, such as calipers and micrometers. Check dimensions against the original design. If there are discrepancies, adjustments may be necessary. Ensuring precision at this stage is vital, as it affects the part’s functionality.
7. Finishing Processes
After inspection, the next step is finishing the part. This process may include deburring, sanding, or polishing. Deburring removes sharp edges, improving safety and appearance. Sanding or polishing enhances the surface finish, making it smoother. Some applications may require additional coatings or treatments for corrosion resistance.
8. Quality Control
Quality control is essential in CNC aluminum machining. Implement a thorough quality assurance process. This may include additional inspections and tests to ensure the part meets specifications. Proper documentation of these processes is crucial for traceability and future reference.
9. Packaging and Shipping
Once the parts pass quality control, prepare them for packaging and shipping. Use appropriate materials to protect the parts during transit. Clearly label each package with necessary information. Ensure that your shipping method is reliable to prevent damage or delays.
Conclusion
In conclusion, CNC aluminum machining involves several key steps. From designing the part to selecting the right alloy, each phase is critical. Proper preparation and programming lead to high-quality results. Additionally, thorough inspections and finishing processes ensure that the final product meets industry standards. By following these steps, you can successfully perform CNC aluminum machining, delivering precision and durability in your components. Whether you are creating prototypes or production runs, understanding this process is essential for achieving success in the machining industry.

