Metal bending is a crucial process in manufacturing. It involves shaping metal into desired angles and curves. Whether you’re working with sheet metal or bars, knowing the proper steps can ensure precision and quality. In this article, we will outline the step-by-step process for bending metal effectively.
Step 1: Choose the Right Material
Before you begin bending, select the appropriate material. Different metals have unique properties. Common choices include aluminum, steel, and copper. Consider factors like thickness and strength. Thicker materials require more force to bend. Always ensure the material is suitable for your project’s requirements.
Step 2: Gather Necessary Tools
Having the right tools is essential for successful metal bending. Some commonly used tools include:
- Bending Brake: This tool allows for precise bends in sheet metal.
- Press Brake: Ideal for heavier materials and more complex shapes.
- Angle Grinder: Useful for smoothing edges after bending.
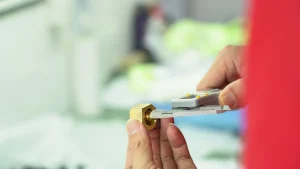
- Calipers: To measure the metal’s thickness and the bend angle accurately.
Gathering these tools will help streamline the bending process.
Step 3: Measure and Mark
Accurate measurements are critical in metal bending. Start by measuring the length and angle of the bend. Use a tape measure and calipers for precision. Once you have your measurements, mark the bending line clearly. A marker or scribe can help create a visible line on the metal. This step ensures that you achieve the correct angle during the bending process.
Step 4: Set Up the Bending Machine
Next, prepare your bending machine. If you’re using a bending brake or press brake, set it according to the material’s specifications. Adjust the machine’s settings based on the metal type and thickness. Ensure the tool is clean and free from debris. A well-maintained machine will provide better results and enhance safety.
Step 5: Position the Metal
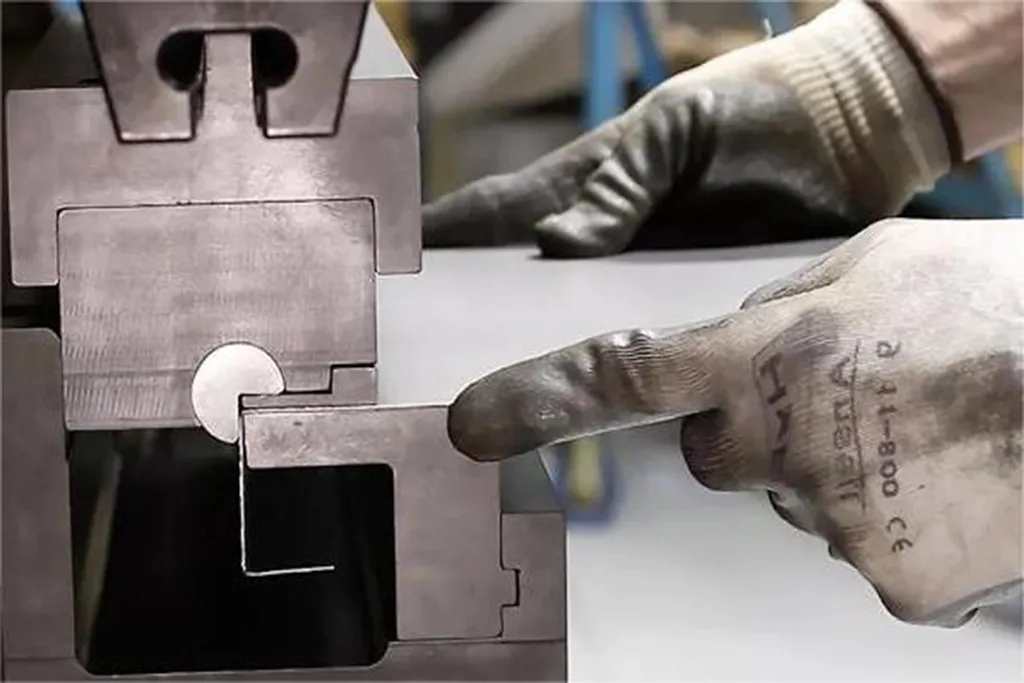
Carefully position the metal in the bending machine. Align the marked line with the machine’s bending edge. This alignment is crucial for achieving the desired angle. Double-check that the metal is secure and straight before proceeding. If necessary, use clamps to hold the metal in place.
Step 6: Begin the Bending Process
Once everything is set up, start the bending process. Engage the machine slowly to apply pressure on the metal. Watch closely as the metal begins to bend. For hand-operated machines, use a steady motion to create a smooth bend. Avoid rushing, as this can lead to mistakes or material damage.
Step 7: Check the Bend Angle
After bending, it’s time to check the angle. Use a protractor or digital angle finder to measure the bend. Ensure it matches your original specifications. If adjustments are necessary, gently apply more pressure or make minor tweaks. This step ensures that your final product meets the desired design.
Step 8: Finishing Touches
After achieving the correct bend, it’s essential to finish the edges. Use an angle grinder to smooth out any sharp edges. This step enhances safety and improves the overall appearance of the metal. Additionally, consider applying a protective coating to prevent rust or corrosion.
Step 9: Quality Control
Finally, conduct a thorough inspection of your bent metal. Check for any imperfections or inconsistencies. Ensure that the dimensions match your specifications. Quality control is vital to maintain high standards in metalworking.
Conclusion
In summary, the metal bending process involves several critical steps. From choosing the right material to conducting quality control, each stage plays a vital role. By following this step-by-step guide, you can achieve precise and high-quality bends in metal. Whether you are a beginner or an experienced metalworker, understanding this process will enhance your skills and improve your projects. Remember, practice makes perfect, so keep honing your techniques for even better results.

