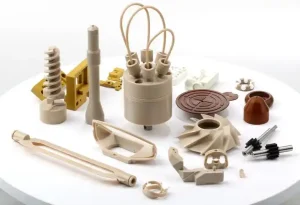
1、Introduction to CNC Milling Machine Machining Accuracy
1. Briefly introduce what CNC milling machine machining accuracy means and its importance in manufacturing.
CNC milling machine machining accuracy refers to the degree of conformity between the actual dimensions, shape, and surface quality of the workpiece after milling and the designed requirements. It is a crucial indicator in the manufacturing industry. High machining accuracy ensures that the produced parts can meet the strict specifications and tolerances, which is essential for the proper assembly and functioning of various products. For example, in the aerospace industry, even a slight deviation in the machining of aircraft components can lead to serious safety issues. In the automotive field, precise machining of engine parts contributes to better performance and fuel efficiency. Without good machining accuracy, the quality and reliability of products would be severely compromised, resulting in increased waste, higher costs, and potential failures in the end-use applications.
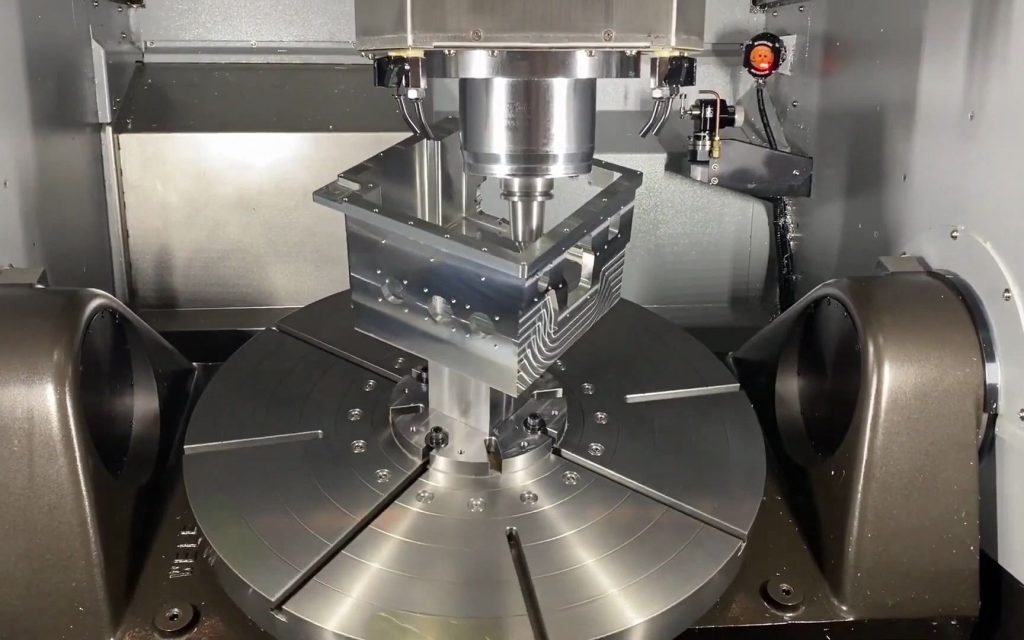
2、Three Key Factors Affecting Machining Accuracy
2.1 Machine Tool Performance
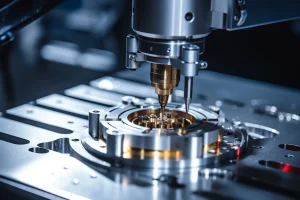
The performance of the machine tool itself plays a fundamental role in determining the machining accuracy. Spindle errors are a significant aspect. For instance, runout in the spindle can cause the cutting tool to deviate from its intended path, resulting in dimensional inaccuracies in the workpiece. If the spindle has an eccentricity of 0.02mm, it can lead to a variation in the diameter of a cylindrical workpiece. Guideway errors also matter. Imperfections in the straightness or flatness of the guideways can translate into errors in the movement of the cutting tool. A misaligned guideway might cause the tool to cut at an angle slightly different from the programmed one, affecting the shape accuracy of the machined part. These machine tool errors directly correlate with the final product quality. Even minor errors can accumulate and lead to a product that fails to meet the required tolerances, especially in high-precision manufacturing where deviations as small as a few microns can be critical.
2.2 Tool Wear and Deformation
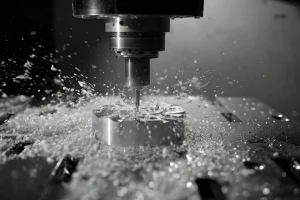
Tool wear is an inevitable part of the cutting process and has a direct impact on machining accuracy. As the tool cuts into the workpiece material, the cutting edges gradually wear down. For example, in continuous cutting of a steel workpiece, the tool’s rake face and flank face experience friction and abrasion. After a certain period of cutting, the tool nose radius may change from its original value of 0.5mm to 0.6mm due to wear. This change can lead to an increase in the surface roughness of the workpiece and dimensional inaccuracies. Tool deformation under the cutting forces is another issue. When a cutting tool is subjected to high cutting forces, it may deflect. In a milling operation, if the tool deflects by 0.05mm due to excessive force, the depth of cut and the resulting workpiece dimensions will be affected. Different degrees of tool wear and deformation have varying effects on the workpiece. Slight wear might only cause a marginal increase in surface roughness, while severe wear and deformation can completely ruin the dimensional and shape accuracy of the part.
2.3 Workpiece Material and Clamping
The properties of the workpiece material can pose challenges to machining accuracy. Materials with high hardness, such as hardened steel or titanium alloys, are more difficult to machine precisely. Their resistance to cutting forces can cause tool deflection and wear more easily. For example, when machining titanium alloy, the cutting temperature can rise rapidly due to its low thermal conductivity, which in turn affects the tool life and the accuracy of the machined surface. Improper clamping methods also contribute to inaccuracies. If a workpiece is not clamped firmly enough, it may shift during the machining process. In a milling operation, a loosely clamped workpiece might move by 0.1mm, leading to incorrect dimensions and poor surface finish. On the other hand, over-tight clamping can cause deformation of the workpiece. For a thin-walled workpiece, excessive clamping force can distort its shape, and even after machining, when the clamping force is released, the workpiece may not have the desired shape and dimensions. Therefore, correct clamping is essential to maintain accuracy by ensuring the workpiece remains stable and undistorted during machining.
3、The Value of Rapidefficient in CNC Processing Market
1. Highlight the unique advantages of rapidefficient in improving machining efficiency and accuracy.
Rapidefficient stands out in the CNC processing market with its remarkable capabilities. It utilizes advanced control systems and high-precision components, which significantly enhance machining accuracy. The company’s state-of-the-art CNC milling machines are equipped with ultra-precise spindles that can maintain extremely low runout, ensuring minimal errors in the machining process. For example, in a recent project involving the production of complex aerospace components, Rapidefficient’s machines achieved a spindle runout of less than 0.005mm, resulting in parts with outstanding dimensional accuracy. Moreover, Rapidefficient has a team of highly skilled engineers who are well-versed in optimizing machining parameters. They can adjust cutting speeds, feeds, and depths of cut with great precision to maximize both efficiency and accuracy. This level of expertise allows Rapidefficient to handle even the most challenging machining tasks with ease.
2. Share some real cases or data showing its positive impact on CNC milling machine work.
In one instance, a client in the automotive industry needed to produce a large batch of engine cylinder heads with tight tolerances. Rapidefficient took on the project and was able to achieve a dimensional accuracy of within ±0.01mm, which is well above the industry standard. This not only ensured the proper functioning of the engines but also reduced the need for post-machining adjustments and rework, saving significant time and costs. Another case involved a medical device manufacturer who required the machining of intricate titanium alloy parts. Rapidefficient’s specialized techniques and equipment enabled them to complete the job with a surface roughness of less than Ra0.8μm, meeting the strict requirements for biocompatibility and smooth operation of the medical devices. These real-world examples demonstrate how Rapidefficient consistently delivers exceptional results in CNC milling, making it a trusted partner for industries that demand the highest levels of precision and quality.
4、Four Solutions to Improve Machining Accuracy
4.1 Regular Maintenance of Machine Tools
Regular checks and maintenance of CNC milling machines are essential to enhance machining accuracy. Daily inspections should include examining the spindle for any signs of abnormal noise or vibration, which could indicate issues like bearing wear. For example, if a spindle bearing has a slight defect, it might cause the spindle to vibrate at a frequency of 50 Hz, affecting the cutting tool’s stability. Weekly maintenance could involve cleaning the guideways and applying fresh lubricant to ensure smooth movement. Over time, debris and old lubricant can accumulate, causing the guideways to become sticky or uneven, leading to errors in tool movement. Monthly, a comprehensive check of the machine’s electrical connections and cooling systems is necessary. Loose electrical connections can result in inconsistent power supply to the motors, affecting the spindle speed and tool positioning. By performing these routine maintenance tasks, potential errors can be detected and corrected early, thereby improving the overall accuracy of the machining process.
4.2 Optimal Tool Selection and Replacement
Choosing the right cutting tool is crucial for achieving high machining accuracy. Different workpiece materials require specific tool materials and geometries. For machining aluminum, a carbide tool with a sharp cutting edge and a large rake angle is often suitable as it can effectively cut through the relatively soft material. In contrast, when working with hardened steel, a cubic boron nitride (CBN) tool is a better choice due to its high hardness and wear resistance. The tool geometry also matters. A tool with a small nose radius is preferred for fine surface finishes, while a larger nose radius can handle higher cutting loads. Additionally, timely tool replacement is vital. As tools wear, their cutting performance deteriorates. A worn tool might have a chipped cutting edge or increased surface roughness, which will transfer onto the workpiece. By monitoring tool wear using techniques like optical microscopy or tool life management systems and replacing tools at the appropriate time, the machining accuracy can be maintained at a high level.
4.3 Precise Workpiece Clamping Techniques
Advanced and precise clamping methods are necessary to ensure the workpiece remains stable and undistorted during machining. One such method is the use of hydraulic clamping systems. These systems can apply a uniform and adjustable clamping force, which is especially beneficial for thin-walled or fragile workpieces. For example, in the machining of a thin aluminum alloy plate, a hydraulic clamping system can apply a gentle yet firm pressure of around 2000 N, preventing the workpiece from warping. Another technique is the use of zero-point clamping systems. These allow for quick and accurate positioning of the workpiece, reducing setup time and minimizing errors. With zero-point clamping, the workpiece can be located within ±0.005 mm of the desired position, ensuring high repeatability in machining. By employing these precise clamping techniques, accuracy problems caused by workpiece movement or deformation can be effectively avoided.
4.4 Utilizing Advanced CNC Technology
Adopting modern CNC technologies can significantly optimize machining processes and improve accuracy. One example is high-speed machining (HSM) technology. HSM allows for much higher spindle speeds and feed rates compared to traditional machining methods. For instance, a spindle speed of up to 50,000 RPM can be achieved, enabling faster material removal and better surface finishes. This is because at high speeds, the cutting forces are reduced, minimizing tool deflection and workpiece deformation. Another useful technology is adaptive control. Adaptive control systems can continuously monitor the machining process and adjust parameters such as cutting speed and feed rate in real-time. If the system detects an increase in cutting force due to a hard spot in the workpiece material, it can automatically reduce the feed rate to maintain a constant cutting load, ensuring consistent accuracy and preventing tool breakage. These advanced CNC technologies, when properly utilized, can take the machining accuracy of CNC milling machines to a new level.
5、Conclusion
In conclusion, the machining accuracy of CNC milling machines is influenced by multiple factors including machine tool performance, tool wear and deformation, and workpiece material and clamping. Understanding these factors and implementing appropriate solutions such as regular machine maintenance, optimal tool selection and replacement, precise workpiece clamping, and utilizing advanced CNC technology is crucial for achieving high machining accuracy. Rapidefficient plays a significant role in the CNC processing market by offering advanced solutions and expertise that enhance machining accuracy and efficiency. Considering these aspects carefully can lead to better manufacturing results, reduced waste, and improved product quality in various industries that rely on CNC milling.
6、Recommendation of Rapidefficient CNC Aluminum Processing Service Providers
1. Briefly introduce several reliable rapidefficient CNC aluminum processing service providers.
Rapidefficient is a renowned name in the CNC aluminum processing industry. They have established a reputation for delivering high-quality results. Another reliable provider is [Provider Name 2], which has been in the business for several years and has a wide range of advanced CNC milling machines. [Provider Name 3] is also worth mentioning, as they specialize in handling complex aluminum machining projects with great expertise.
2. Mention their features and advantages that make them worth choosing.
Rapidefficient stands out due to its continuous investment in research and development, allowing them to stay at the forefront of CNC technology. Their team of experienced engineers can provide customized solutions for various aluminum machining requirements. [Provider Name 2] offers fast turnaround times without compromising on accuracy, thanks to their efficient production processes and well-trained staff. [Provider Name 3] has a unique advantage in terms of their extensive network of suppliers, ensuring a steady supply of high-quality aluminum materials at competitive prices. These providers, with their distinct features and advantages, are excellent choices for CNC aluminum processing needs.

